
Migrating from Ionic
This page demonstrates quick and easy steps to migrate an Ionic project into Monaca using the Monaca CLI. After finishing this guide, you are able to run, test, debug and build an app of your Ionic project using Monaca.
Prerequisite
Before starting the migration process, please make sure to read the key points in order to have a seamless migration.
Install the Monaca CLI globally with npm:
$ npm install -g monaca
Migration steps
After the Monaca CLI installation, login with your Monaca account:
monaca login2. Navigate to your Ionic project directory.
cd <project dir>3. Then, run monaca init to convert your project to a Monaca project:
monaca init
...
? Are you sure you want to continue initializing this project? Yes
? Is it a transpilable project? Yes
? Which command do you use to serve the app? ionic-app-scripts serve
? Which command do you use to build the app? ionic-app-scripts build
? Which command do you use to watch the changes from your app? ionic-app-scripts watch
4. Add these three new commands to your package.json file:
"scripts": {
    "monaca:preview": "ionic-app-scripts serve & ionic-app-scripts watch",
    "monaca:transpile": "ionic-app-scripts build",
    "monaca:debug": "ionic-app-scripts watch"
}
Debugging with the Monaca CLI
Monaca Debugger is an application for testing and debugging your Monaca apps on real devices in real time. When developing Monaca apps on your local PC, all changes you make to the project files reflect in the Monaca Debugger as soon as you save the changes.
Let’s get started with the Monaca Debugger as follows:
Install the Monaca Debugger app on your device from Google Play or AppStore.


2. Launch the Monaca Debugger app and sign in with your Monaca account. Make sure you are using the same account as for Monaca CLI.
3. Check that the Monaca Debugger and the PC are connected to the same network connection (LAN or Wi-Fi) and disable the firewall of the PC.
4. To pair your device to the PC, navigate to the project directory in the command line and type monaca debug.
    cd <project dir>
    monaca debug
5. A popup message prompting you to pair the debugger with the PC opens inside the Monaca Debugger.
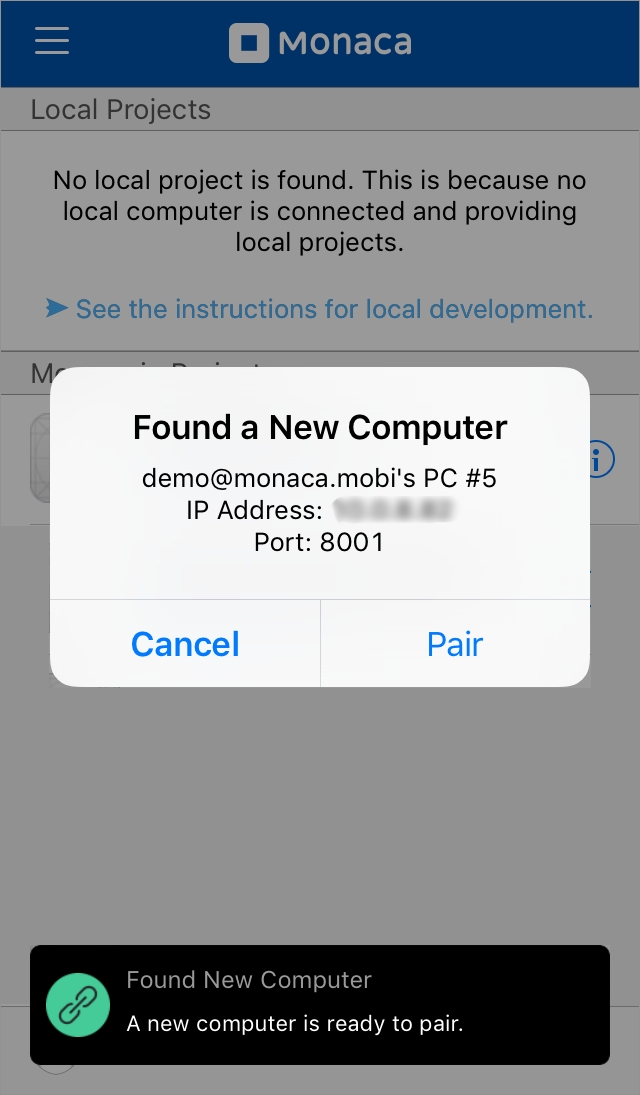
6. If the pairing is successful, your local project name will appear under Local Projects in Monaca Debugger. However, if the pairing fails, please refer to Fail to pair the Monaca Debugger.
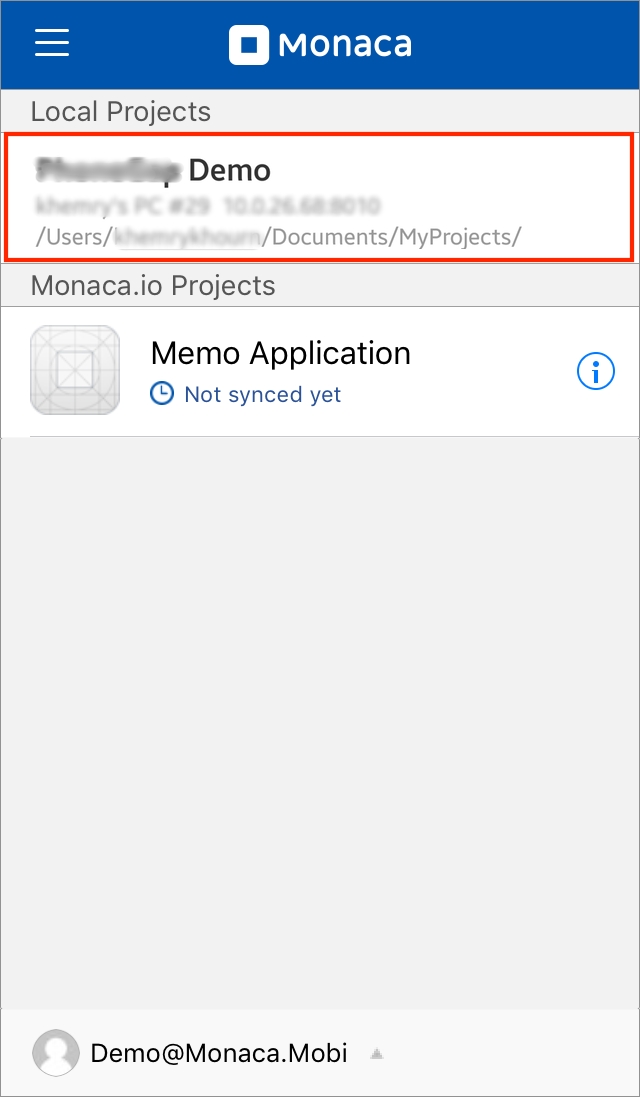
7. To run a project, tap on the project name in the Monaca Debugger (as shown in the above picture).
8. Your project should now be running in the debugger. Go ahead and try out your application. After that, try making some code changes and save them. You should see the changes reflected in the debugger.
Building the app
Now that you know how to use the Monaca CLI commands with your Ionic project, let’s start building it with the Monaca CLI. For simplicity, we only show how to create a debug build for Android in this guide.
Using only the CLI commands
Navigate to the project directory.
cd <project dir>Start the Android debug build
monaca remote build android --build-type=debug
Using CLI Command with GUI
Navigate to the project directory.
cd <project dir>Open the
Build Windowto start building.monaca remote build --browserThe debug build is selected by default. Click Start Build.

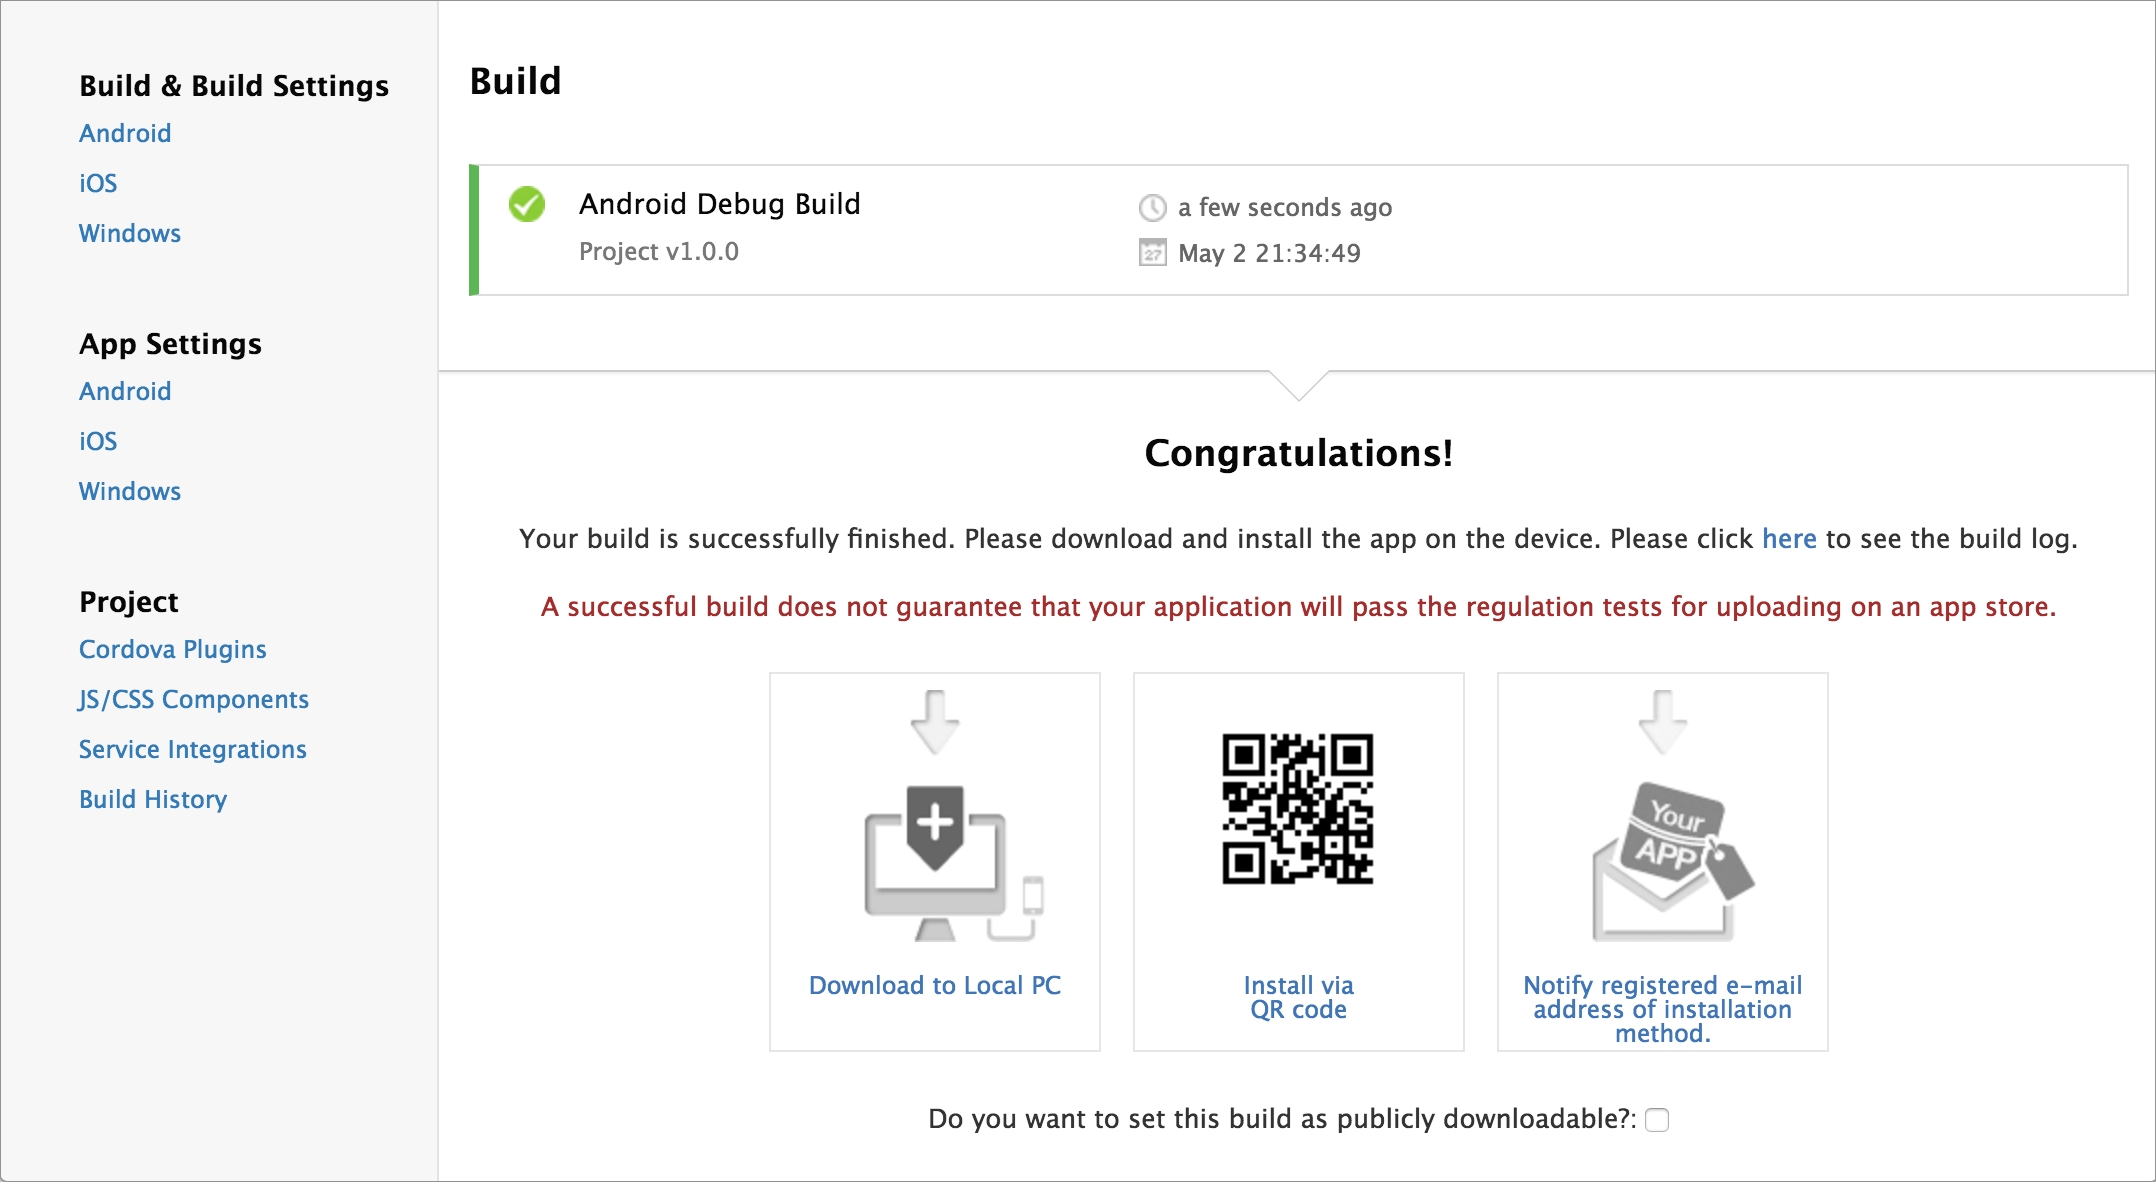
4. It may take several minutes to complete the build. The following screen will open after the build is successfully completed. Then, you can choose the way to install the app in your device.
Where to go from here
To learn more about Monaca, please refer to the following materials:
Last updated
Was this helpful?