
Part 2: Running Monaca Debugger with Monaca CLI
Monaca Debugger is a powerful application for testing and debugging your Monaca applications on real devices in real time.
When developing Monaca apps on your local PC, assuming that the local PC is successfully paired with the Monaca Debugger, all changes made to the project files will be pushed into Monaca Debugger as soon as you save those changes.
Before getting started
Please install Monaca Debugger on your device.


Step 1: Pairing the Monaca Debugger with a local PC
To debug or test a local Monaca app, you need to pair your PC with the Monaca Debugger.
In the terminal window, navigate to your project folder and run the monaca debug command to connect to the Monaca Debugger. Then, the Monaca CLI will wait for the requests from the debugger.

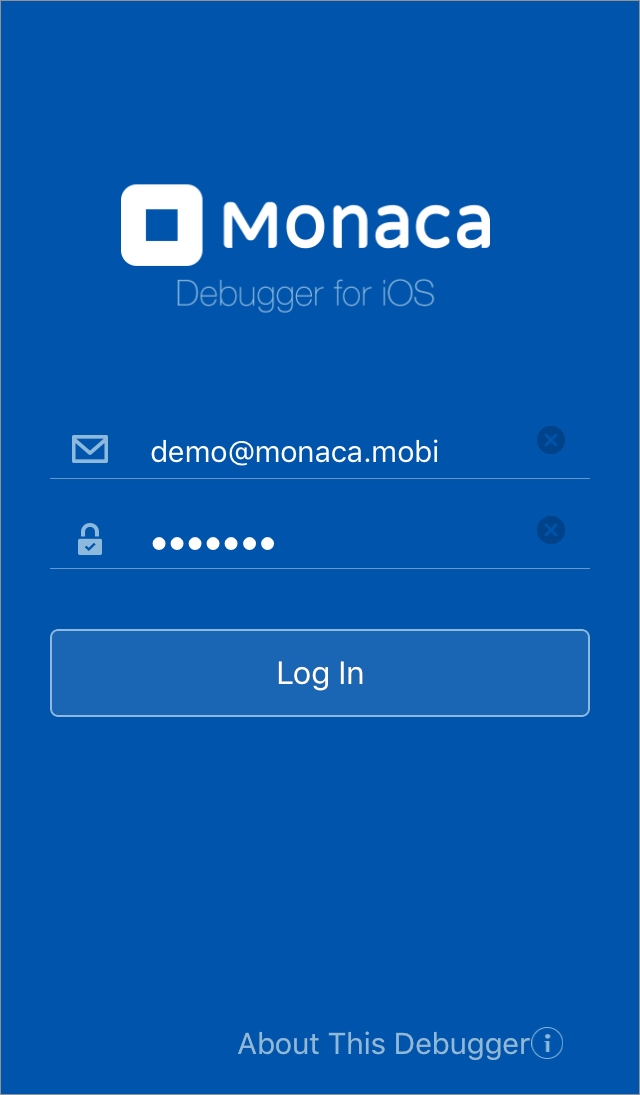
2. Launch the Monaca Debugger app and sign in using your Monaca account information. Make sure you are using the same account information as for the Monaca CLI.
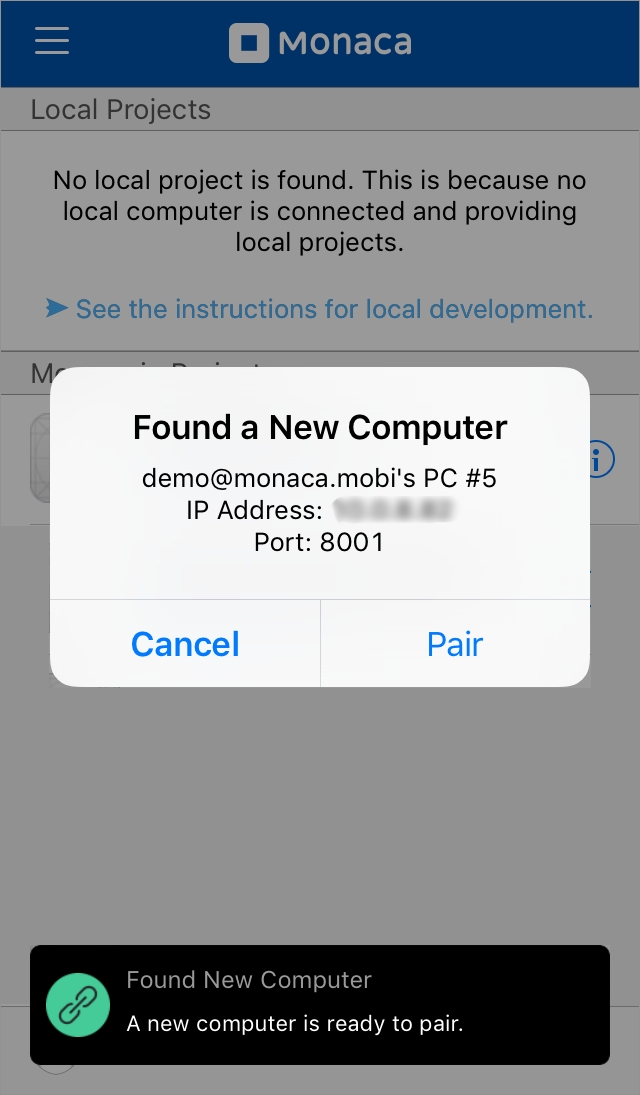
3. A popup message asking you to pair the debugger with the PC will appear.
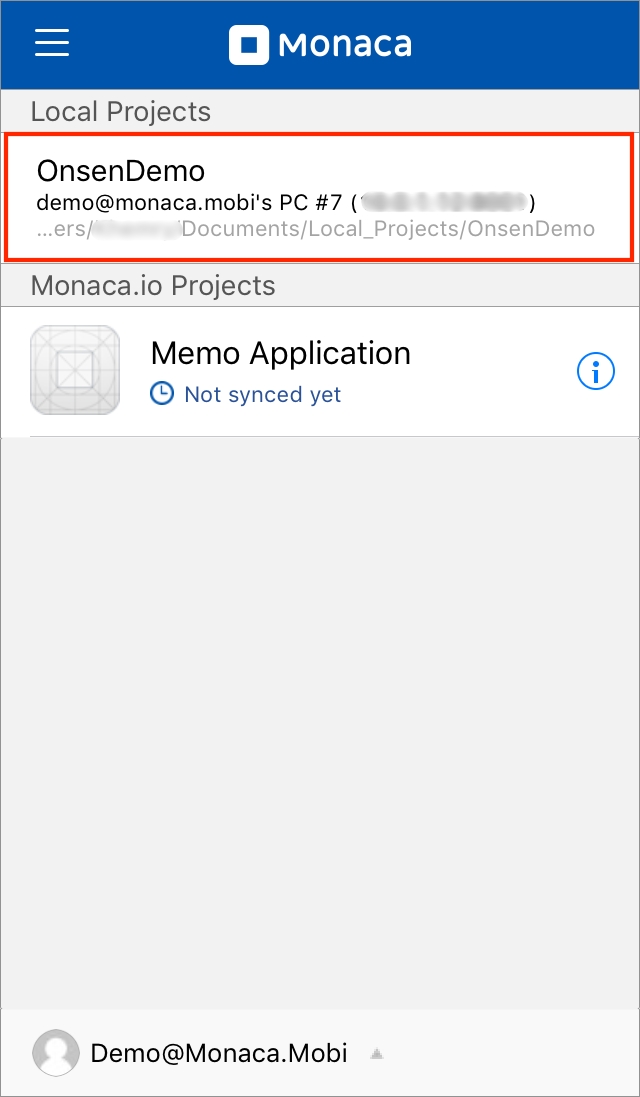
4. If the pairing is successful, your local project name will appear under Local Projects in the Monaca Debugger. However, if the pairing does not work, refer to Fail to pair the Monaca Debugger.
Step 2: Running a project on the Monaca Debugger
From the local projects list in the Monaca Debugger, click on a project name to run it.
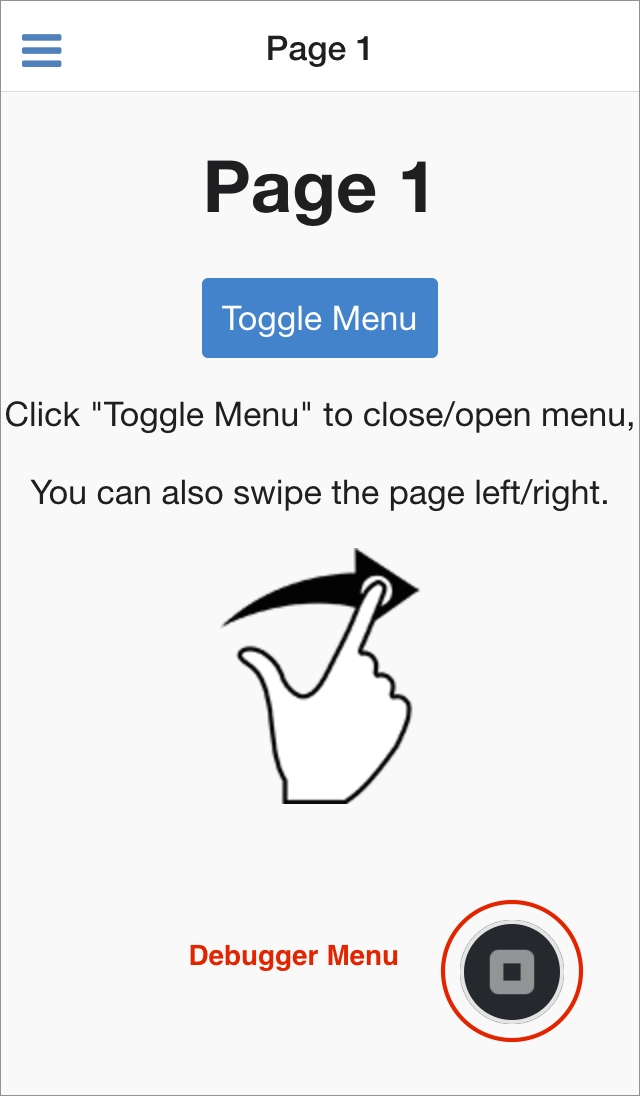
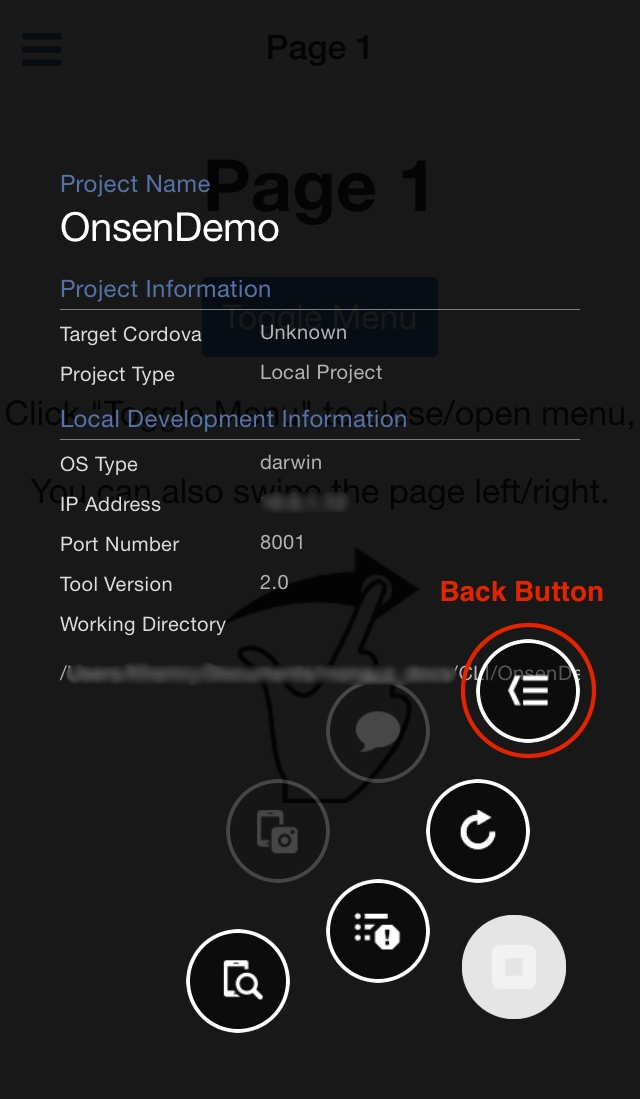
Now the project should be running as shown in the screenshot below. Touch the
backbutton in the debugger menu to go back to the project list screen.
Step 3: Real time update between the Monaca CLI and the debugger
Run the project in the debugger.
Try making some changes to a project file. For example, try changing the starting page of the sample app to Page 2. In order to do this, open the
index.htmlfile. Then, change themain-pageattribute (inside<ons-sliding-menu>tag) topage2.htmland save your changes. The updated code should look like this:... <ons-sliding-menu var="app.slidingMenu" menu-page="menu.html" main-page="page2.html" side="left" type="overlay" max-slide-distance="200px"> </ons-sliding-menu> ...If your PC is still connected to the Monaca Debugger, it will automatically refresh the updates. Now your starting page should be the page 2.

That’s it! Try to make more changes to your project and see how it runs in the debugger. Enjoy developing with Monaca!
Last updated
Was this helpful?